 |
|||||||||||||||||||||||||||
| September / October 2005 | |||||||||||||||||||||||||||
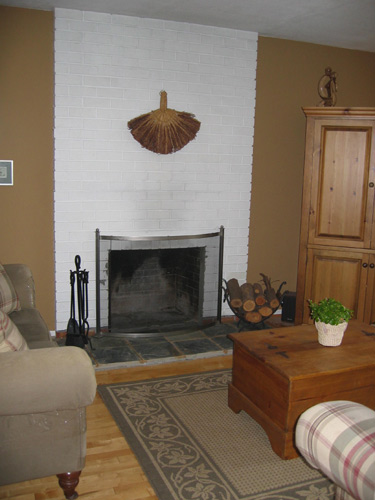
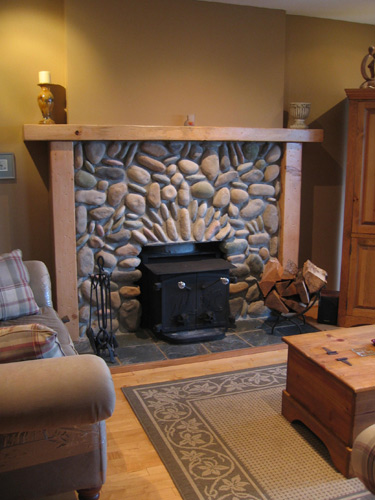
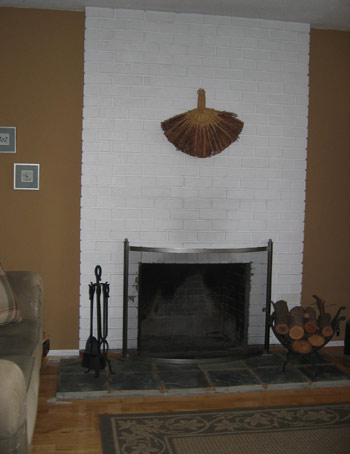
| Before: | After: | ||||||||||||||||||||||||||
 |
 |
||||||||||||||||||||||||||
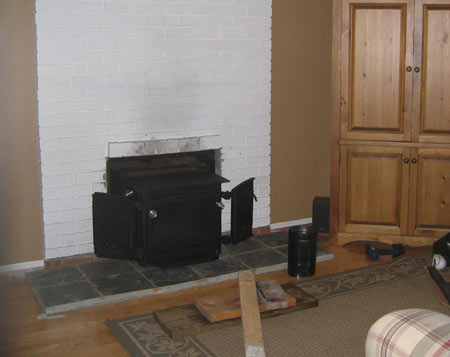
| This is not a completely true "Before" picture as Andre has already re-built the hearth here (it was narrow white brick, like the rest) | |||||||||||||||||||||||||||
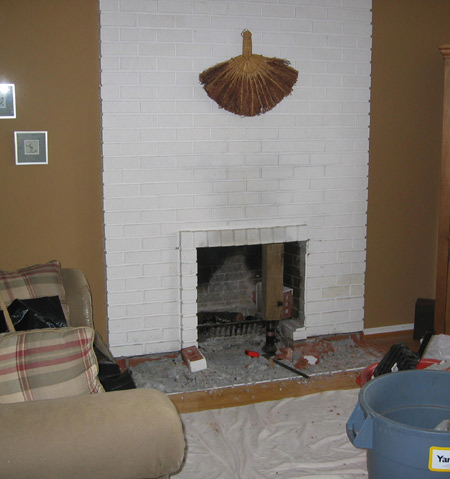
| STEP ONE: Replacing the Hearth
Andre smashed off the old white brick hearth and began prepping for the new slate hearth. The new hearth would be wider & deeper to accommodate the woodstove. |
 |
||||||||||||||||||||||||||
 |
|||||||||||||||||||||||||||
|
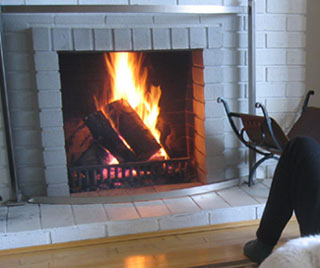
ABOVE: The only photo I have showing the old white hearth. As you can see it's not only very narrow (log basket kept falling off), but ugly to boot. |
|||||||||||||||||||||||||||
 |
|||||||||||||||||||||||||||
 |
|||||||||||||||||||||||||||
| New Hearth is Complete: | |||||||||||||||||||||||||||
 |
|||||||||||||||||||||||||||
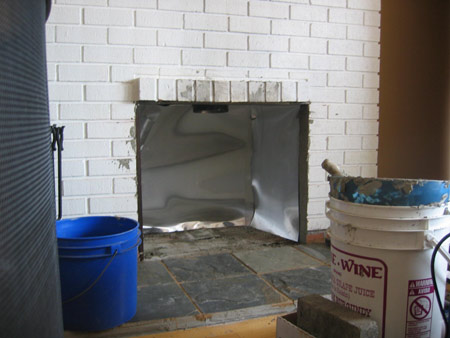
| STEP TWO: Prepping The Chimney
Andre spent a good couple weeks toiling with the chimney preparation and finally came up with a solution the night before we had the Grey boys booked for the woodstove install. He was working on it until 3 AM! Right: Some flashing will provide some heat reflection around the stove. |
|||||||||||||||||||||||||||
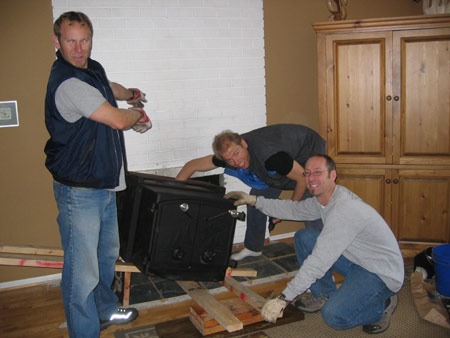
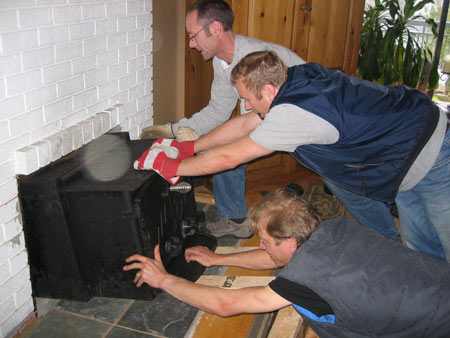
| STEP THREE: Installing the Wood Stove
The Grey boys came over to lend some muscle in transporting the 200 pound beast from our garage to the living room. |
|||||||||||||||||||||||||||
 |
|||||||||||||||||||||||||||
 |
|||||||||||||||||||||||||||
 |
|||||||||||||||||||||||||||
 |
|||||||||||||||||||||||||||
| Now we have HEAT!!
Terasen Gas: Kiss my a--- |
|||||||||||||||||||||||||||
 |
|||||||||||||||||||||||||||
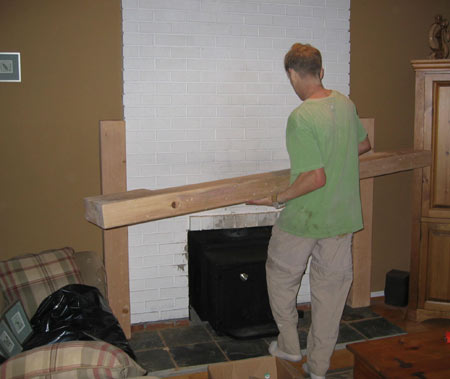
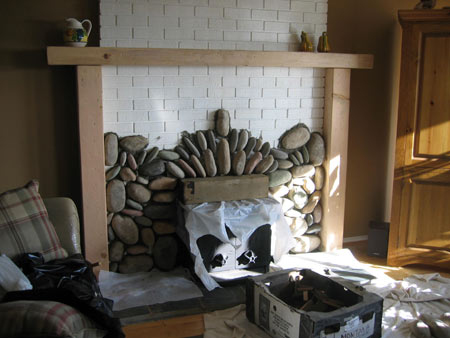
| STEP FOUR: Installing the Mantle
We spent a whole day sourcing some rough timbers, then Andre spent his entire Sunday cutting them to the right size and shape (mantle has a cut-out) and sanding them down. Everything in our garage was under a good solid 1/4 inch of sawdust - gasp!! |
|||||||||||||||||||||||||||
 |
|||||||||||||||||||||||||||
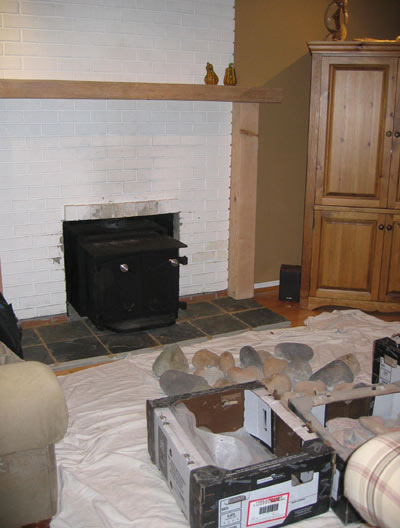
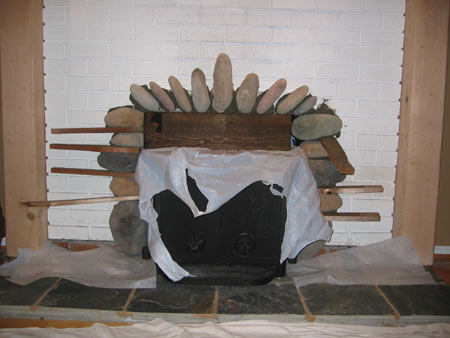
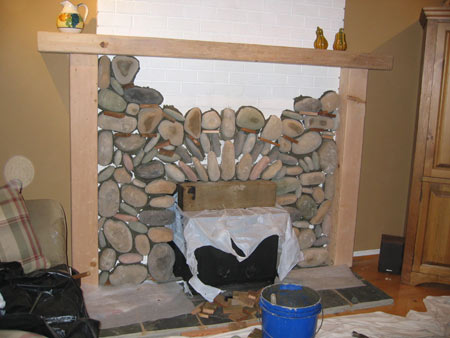
| STEP FIVE: Adhering the River Rock
It took us two eveing sessions from after dinner until about 12:30 to place all the rock. It's tricky to get them all spaced in and maintain a "natural" look by altering shapes, sizes & colours. |
|||||||||||||||||||||||||||
 |
|||||||||||||||||||||||||||
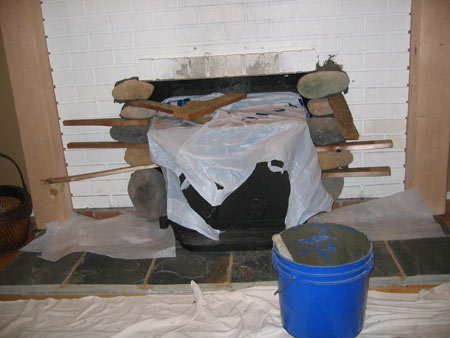
| The corner pieces go in first. | |||||||||||||||||||||||||||
 |
|||||||||||||||||||||||||||
| The wood shims prevent the bigger pieces from sliding down. | |||||||||||||||||||||||||||
 |
|||||||||||||||||||||||||||
 |
|||||||||||||||||||||||||||
 |
|||||||||||||||||||||||||||
| Ugly brick is almost gone! | |||||||||||||||||||||||||||
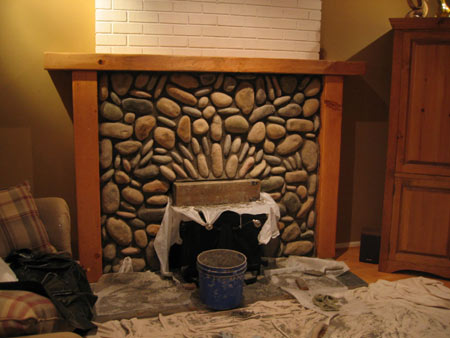
| STEP SIX: Grouting in the Rock
This job truly sucked. Messy as anything, and finicky. The end result is quite nice, though. |
 |
||||||||||||||||||||||||||
| STEP SEVEN: Drywall, Staining & Painting
Some drywall covers the remaining hideous brick. I stained the mantle & pillars, and applied a few coats of verathane to finish off the woodwork. A couple coats of paint to the drywall and...... |
 |
||||||||||||||||||||||||||
 |
|||||||||||||||||||||||||||
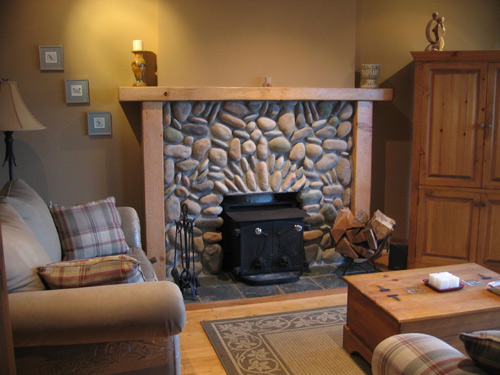
| PRESTO!!! | |||||||||||||||||||||||||||
| back to top | |||||||||||||||||||||||||||