|
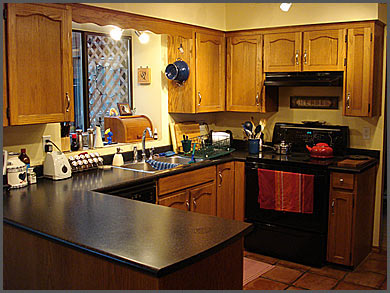
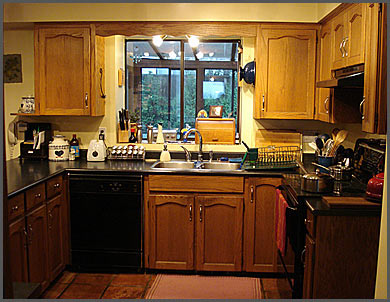
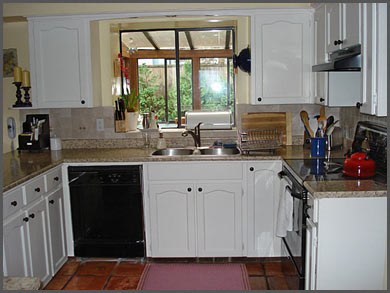
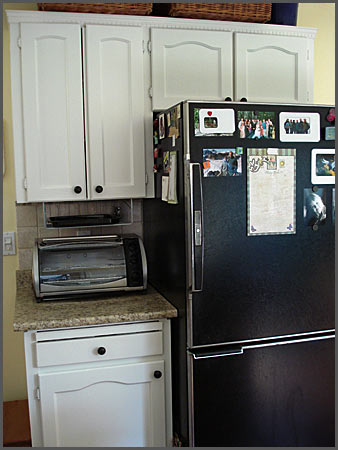
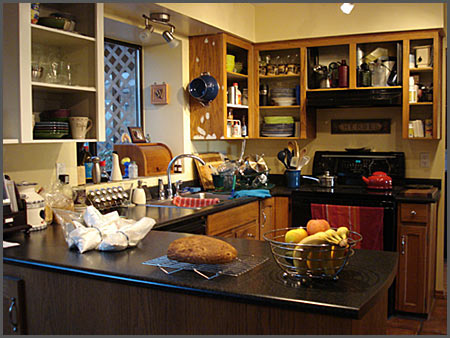
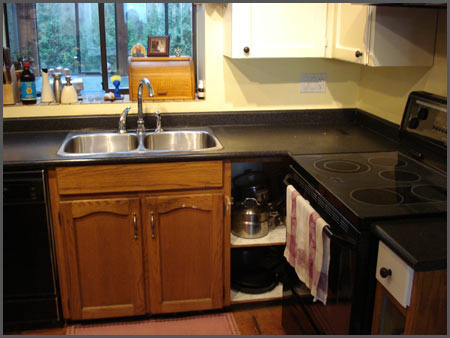
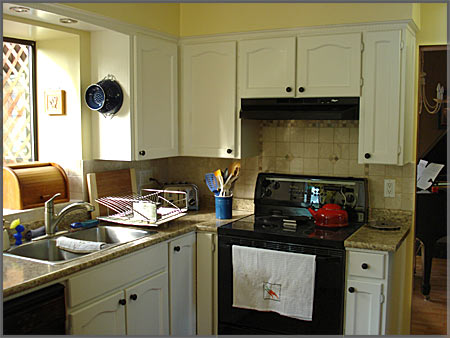
How only $2,000 transformed our kitchen from old, dark & gloomy to bright fresh and clean!
|
||||||||||||||||||||||||||||||||||||||||||||||||||
| Before: | After: | |||||||||||||||||||||||||||||||||||||||||||||||||
 |
 |
|||||||||||||||||||||||||||||||||||||||||||||||||
|
Click on photos (above & below) to see large versions with rollover details
|
||||||||||||||||||||||||||||||||||||||||||||||||||
 |
 |
|||||||||||||||||||||||||||||||||||||||||||||||||
 |
 |
|||||||||||||||||||||||||||||||||||||||||||||||||
 |
 |
|||||||||||||||||||||||||||||||||||||||||||||||||
| This project was spearheaded by Trudel, with assistance from Andre for the installation of the rather heavy countertop, installing the new faucet, installing the track lighting (not shown) and pot lights (over the sink), and the tilework. Well, I guess he really helped out quite a lot, but without my persistance it never would have happened. And, the painting did take the bulk of the time: 21 days straight - ugh!! | ||||||||||||||||||||||||||||||||||||||||||||||||||
|
New:
|
||||||||||||||||||||||||||||||||||||||||||||||||||
|
||||||||||||||||||||||||||||||||||||||||||||||||||
|
The Paint Job From Hell:
So I figured, take off the cabinet doors, remove the hinges & hardware, give a little sanding and a couple coats of paint, then install the new hinges and hardware and its good as new. THINK AGAIN Each cabinet door needed to be painted front & back - of course. Obviously you cannot paint both sides at once, so you have to wait for one side to be completely dry before flipping it over and painting the other side. This was accounted for, even with 12 hour dry-times between coats. (One coat first thing in the morning, one coat right before bed) First Problem: I thought I'd be able to just take the doors down to the basement, prep them, paint them and leave them there to dry. Wrong!!! Oil paint will not dry in a Vancouver basement in January. So each door panel had to be carefully brought upstairs to the living room and be laid out on old towels to dry. Given space limitations, this meant only about 3 - 5 doors could be drying at any given time. (Never mind the constant stench of oil paint) Second Problem (big problem): Given the deep, coarse grain of the oak panels, 2 coats were just not covering the deep grooves. 3 coats didn't even cover them. Heck - not even 4 coats. 5? Nope. 6? On some. 7???!! Yep - on most. Do the math - how many days will it take to paint both sides of 1 door with seven coats; 12 hours between coats. You got it - 7 days. Fortunately the base cabinets got away with "only" 3 coats...in most places. Several panels required 4 coats. |
||||||||||||||||||||||||||||||||||||||||||||||||||
| The painting was done in about 4 stages, each with countless individual steps.
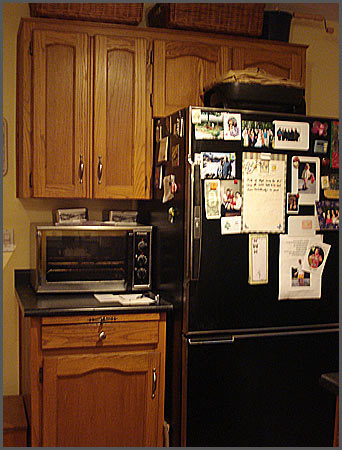
The first cabinet to be tackled was the one over the fridge. Step 1: Remove cabinet doors, hinges & knobs Step 2: Sand doors & cabinet, fill any holes and prime. Step 3: Paint several coats. As in 4 - 7 coats. (see above story) |
 |
|||||||||||||||||||||||||||||||||||||||||||||||||
 |
||||||||||||||||||||||||||||||||||||||||||||||||||
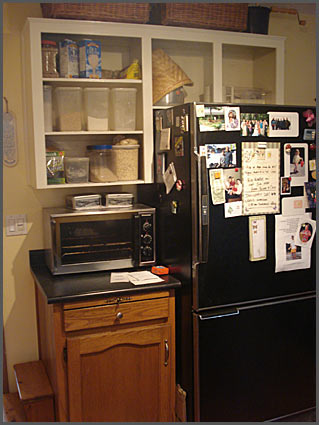
| What a mess! Cabinet at far left has been painted. Doors removed and in painting progress. Oak valance removed from in front of light fixture above sink. (see the 2 'before' photos at the top of the page to have a look at this oh-so-styling oak valance) | ||||||||||||||||||||||||||||||||||||||||||||||||||
 |
||||||||||||||||||||||||||||||||||||||||||||||||||
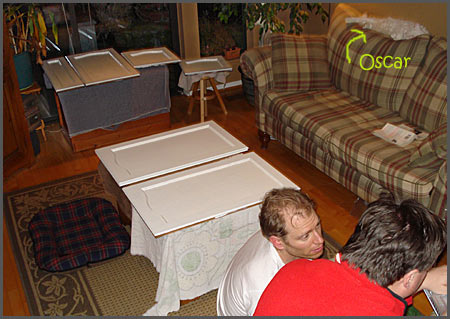
| Cabinet doors drying in our living room. For 21 days! (FYI - that's Andre & John Wickland in the corner and Oscar passed out on the couch) | ||||||||||||||||||||||||||||||||||||||||||||||||||
 |
||||||||||||||||||||||||||||||||||||||||||||||||||
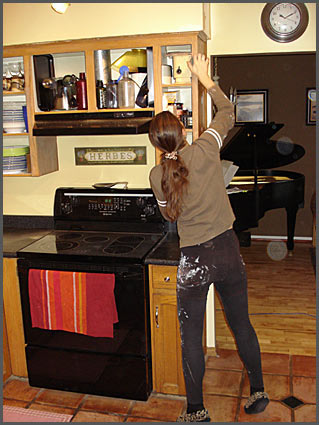
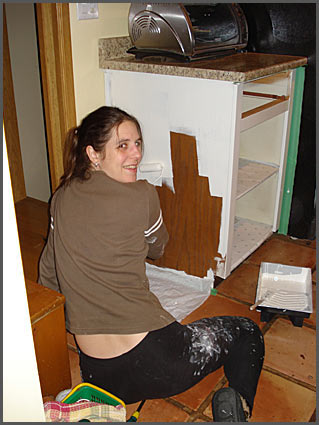
| Sanding. Like my get-up? (Its even more colourfull from the front) | ||||||||||||||||||||||||||||||||||||||||||||||||||
 |
||||||||||||||||||||||||||||||||||||||||||||||||||
|
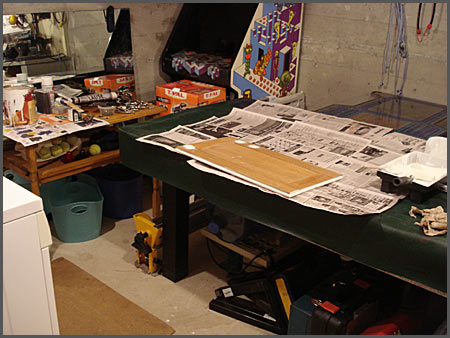
My basement workshop
|
||||||||||||||||||||||||||||||||||||||||||||||||||
 |
||||||||||||||||||||||||||||||||||||||||||||||||||
|
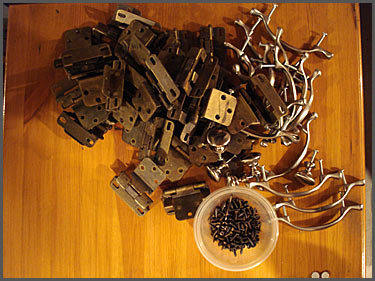
Hinges & door hardware removed
|
||||||||||||||||||||||||||||||||||||||||||||||||||
 |
||||||||||||||||||||||||||||||||||||||||||||||||||
 |
||||||||||||||||||||||||||||||||||||||||||||||||||
|
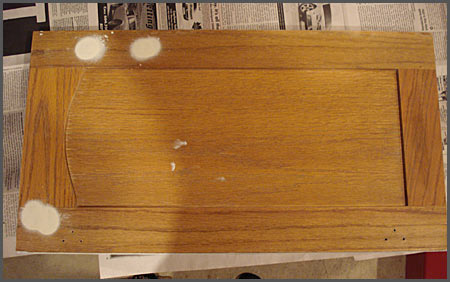
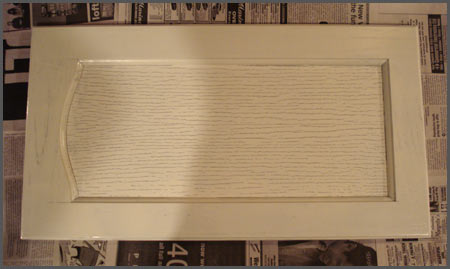
This photo illustrates the deep groves on the door panels. This photo was taken after the 2nd coat. It took up to 7 coats to completely fill these grooves. (to save time I actually only did 4 coats on the insides of the doors)
|
||||||||||||||||||||||||||||||||||||||||||||||||||
 |
||||||||||||||||||||||||||||||||||||||||||||||||||
| Above & Below: You can see the various stages of completion. Some cabinets are completely done, others partially, and others still waiting. | ||||||||||||||||||||||||||||||||||||||||||||||||||
 |
||||||||||||||||||||||||||||||||||||||||||||||||||
 |
||||||||||||||||||||||||||||||||||||||||||||||||||
| The cabinets (but not the doors) underneath the counter could only be painted once the new counter was in. | ||||||||||||||||||||||||||||||||||||||||||||||||||
 |
||||||||||||||||||||||||||||||||||||||||||||||||||
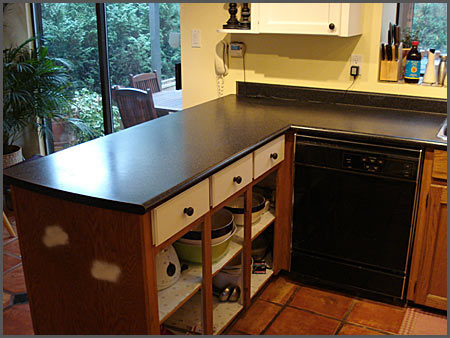
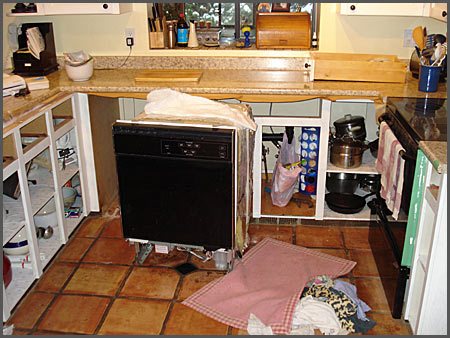
| AAAHHH!!! The mess just gets worse and worse!! The new counter is finally installed (after a little screw-up on my part - I measured wrong - OOPPS! It was too long and had to be cut down, but we had to go one weekend without a proper counter and no sink (note the hole has not been cut out). The dishwasher is pulled out to because it needed to be re-plumbed - that's another story. | ||||||||||||||||||||||||||||||||||||||||||||||||||
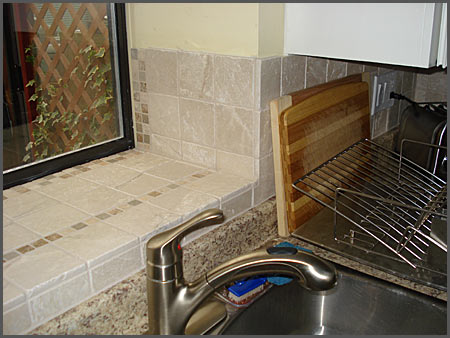
| New Tile! | ||||||||||||||||||||||||||||||||||||||||||||||||||
 |
||||||||||||||||||||||||||||||||||||||||||||||||||
| No, we were not too keen on keeping that mustard yellow tile behind the sink (note the new faucet - its one of those pull-out sprayer kind; it's been my dream to have one of these for over 10 years) | ||||||||||||||||||||||||||||||||||||||||||||||||||
 |
||||||||||||||||||||||||||||||||||||||||||||||||||
| Getting ready for the tiling - but looking a little better already! Cabinets are finished, new counter is in and new faucet. | ||||||||||||||||||||||||||||||||||||||||||||||||||
 |
||||||||||||||||||||||||||||||||||||||||||||||||||
|
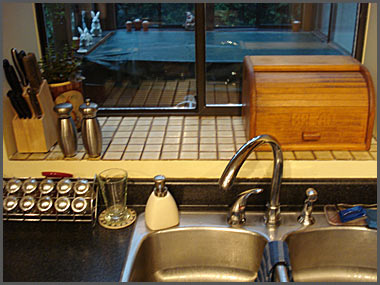
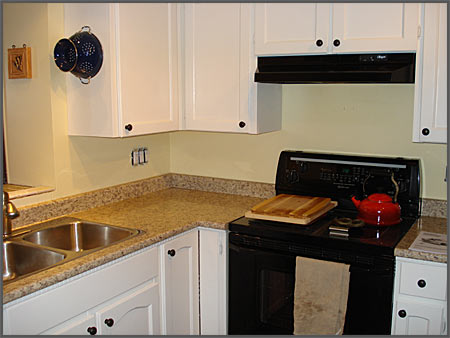
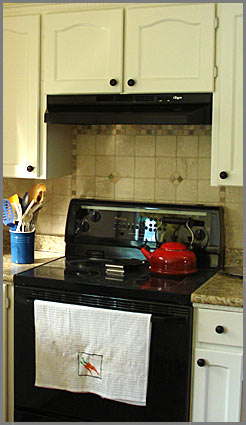
Note the pot lights above the sink.
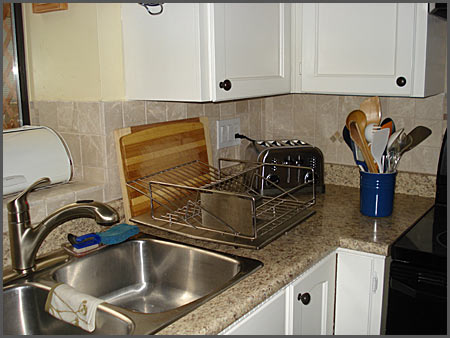
Tiling is complete, & kitchen is put back together again. New dishrack stands next to sink, but old clunky breadbox has yet to be replaced. |
||||||||||||||||||||||||||||||||||||||||||||||||||
 |
||||||||||||||||||||||||||||||||||||||||||||||||||
 |
||||||||||||||||||||||||||||||||||||||||||||||||||
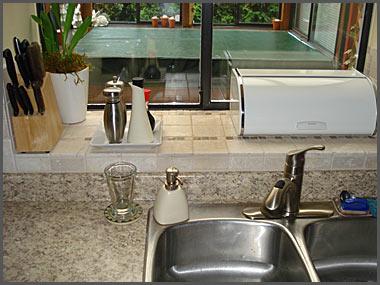
| Left: Tiling detail behind stove
Above: Tiling detail behind sink Below: Corner photo showing tilework and new accessories (breadbox, dishrack, toaster, and of course the faucet) |
||||||||||||||||||||||||||||||||||||||||||||||||||
 |
||||||||||||||||||||||||||||||||||||||||||||||||||